

Ok so you want to give your work that extra spice of awesomeness? Then
Shading is the answer. But how do you this? Well with this tutorial, and you will find out now!
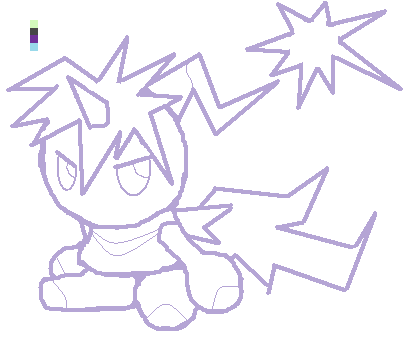
Step 1: Make your line art.
:herosuprise: Note: I didn't use black. I used a color I knew I wouldn't need.
This is color I can change at any time with the 'dump bucket.'

Step 2: Pick some colors. These are the base coat. The 'main color'.
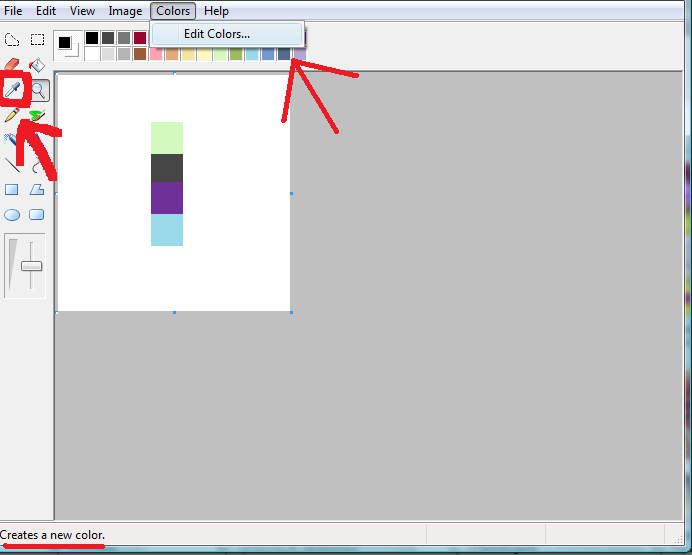
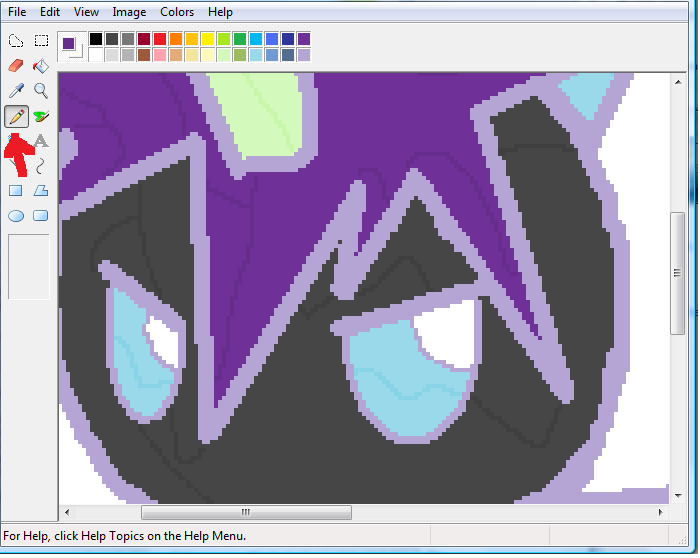
Step 3: EXPAND your colors.
1)Use the tool I have boxed in red.
2) Use this tool and 'pick up' one of your colors.
3) Then hover your mouse over 'colors' at the top of MS Paint. Click it.
4) A sub menu will drop down and click, 'Edit colors'.
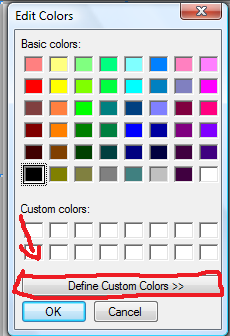
5)A new window will appear, Click 'define custom colors'.

6) Yet another window will pop up. This is where you can change the
colors shade. The top arrow is pointing to the slider. click and drag it.
This is the main tool in making the different shades of the same color.
7) When you have the shade you want click, 'Add custom colors'.
8) now you have the color, click 'OK' to exit.
9)Next thing you use (paintbrush/bucket/etc) will be the color on till you
change it.
:herosuprise: Note: To make a good shade, it is best to make it pretty
close to the starting color. So you only need to move the slider a little bit.
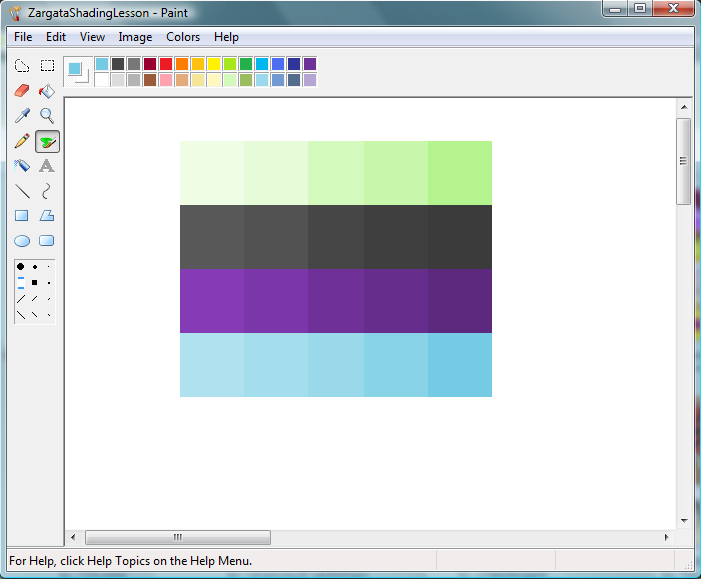
Step 4: Keep track of your colors!
You don't want to do all that work and have nothing saved. So I create
color bars to keep track of ever color shade I make.
:herosuprise: Note: The original color is in the middle. I just added, two
lighter and darker shades of the color on either side. You can use as many
as you like, this is just the depth of the shading you will do.

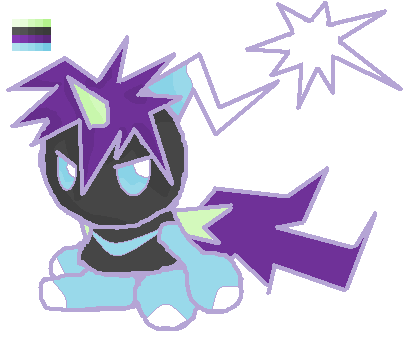
Step 5: Base coat. Most would call it quits right about here. But we must
continue on to give it the proper shading.
Step 6: Add the first shade.
In The picture above that I used the pencil. I used the darker shade of
each color and drew where I wanted it to go.
:herosuprise: Note: This is not the darkest shade, it's the darker one
that is closest to the base coat! This is very important.
Now fill in the area's you cut off with the 'dump bucket'.
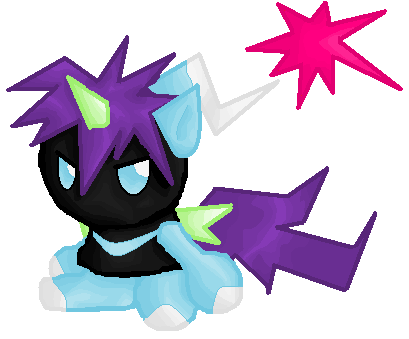
Now compare! The head has been shaded once while the body has not.
See the difference it makes?

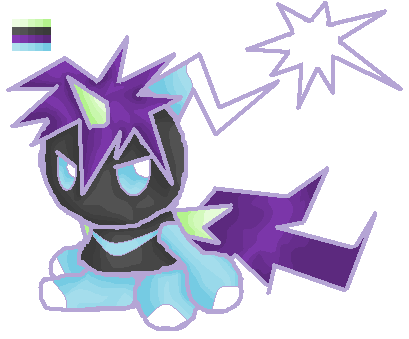

Step 7: Shade with all the colors you wish to use.
I just continued step 6 over and over again with every shade I made.
:herosuprise: Note: It's up to you have many shades you have! For
this example I have 5. 2 lighter, 1 Normal, and 2 Darker.
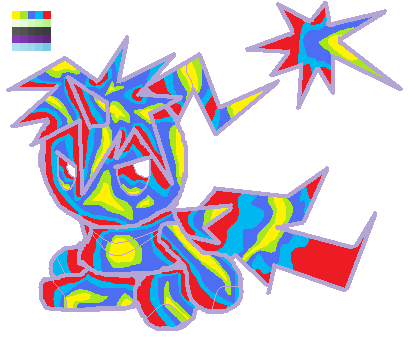
:herosuprise: Note: This is an example of the shading that I used.
See how yellow only touches green? and Blue only touches green and
cyan? This the main key to shading.
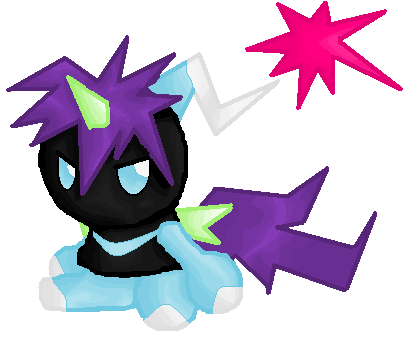
FINISHED! Now your done with getting the shading laid down of the line
art. Any of the colors can be change with the 'dump bucket' tool.
This next area will be on the fixing up of the project, getting it exactly the
way you want.
Super Shade Vs Shade
What is super shade? It is where you get the colors so close together
that the shade can almost vanish. This can be good and bad. So make
a choice that works for your project.
Outline
You can have a solid color like this
http://img.photobucket.com/albums/v65/Z ... Shadow.png
or color it to match, like this
http://img.photobucket.com/albums/v65/Z ... sson13.png
No matter which you use is up to you. In some cases I have even seen
people shade the outline! So it's up to you.
Whew all done. I hope this was helpful!
If you have any question let me know!


 I haz sandwhich!


